Sorry, all I have is before and after pictures. I didn't think to take pictures through the process, but it is easy enough to do yourself if you read along. Besides, you can probably find some other pictures if you look hard enough.
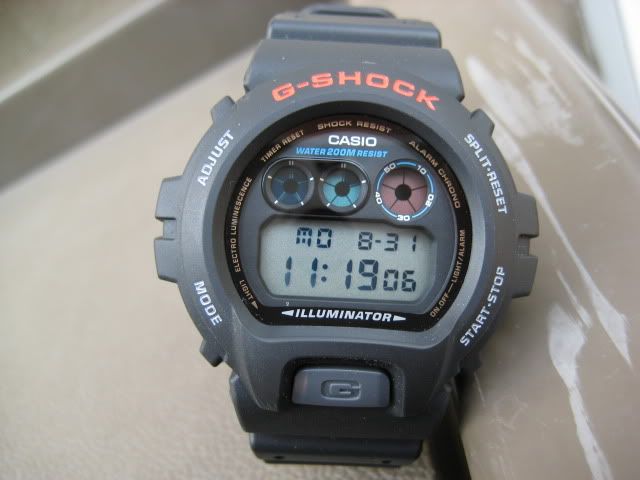
Stock DW6900 >>>>>>>>>>>>
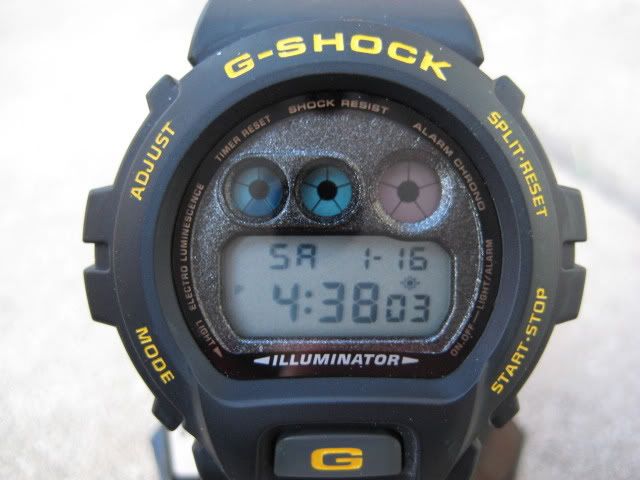
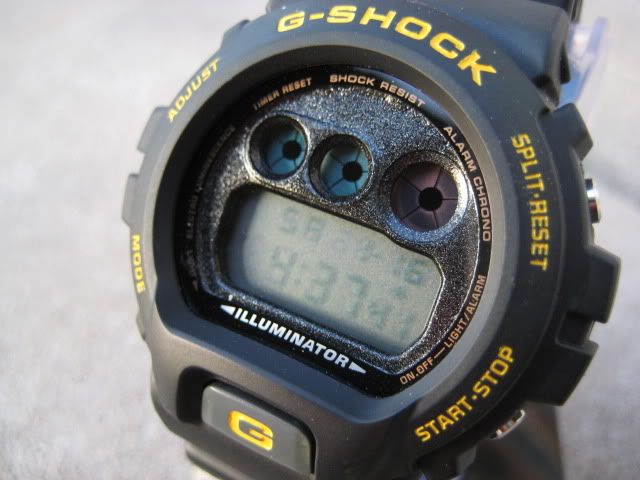
After >>>>>>>>>>>>>>>>>>>

I think the DW6900/6600 is a strange bird. The crystal/dial real estate is huge, yet so little space is dedicated to the time functions. The colors are OK, but seem dated to my eye and the light button is screaming for some color.
First things first. Remove the bezel by removing the 4 screws around the edge of the case. Be very careful with these screws. First they are very small so if you have cats around the house, be sure to put them somewhere safe. Got that Upstanding? Second, the screws are anchored into plastic, not metal so be careful removing and replacing so that you don't strip the plastic. No need to overtighten.
With the bezel off you use this stuff called Goof Off to remove the paint.

This stuff is an organic solvent so use with plenty of fresh air and don't go huffing it. You only have so many brain cells kiddies and believe it or not, you will need most of them to get through life. Use sparingly on the bezel. Some people will soak the bezel in the Goof Off, but I simply dip a tooth brush in the Goof Off and then just brush at the paint. Most of it will come out easily. Continue to scrub with a tooth brush until you are happy with the condition. Then wash the bezel well with soap and water and let dry.
OK. What next? Some people like to leave the letters unpainted to give a stealthy look, but that's not what I did. I chose to paint the letters yellow. For the paint I used Testors model paint. Those little bottles go a long way. The painting is so easy. Simply use a small brush and fill in the letters with the paint. You can slop it on, don't worry about getting paint on the bezel as it cleans up easy. After you've painted the letters, let dry. If you want more paint in the letters, then apply a second coat and let dry again. OK now to clean up the paint from the bezel, simply take a cloth and get it slightly damp with the Goof Off. Not dripping, just slightly damp. Now wrap the cloth on your finger and very lightly wipe over the bezel. You will see the paint will easily wipe off however the paint down in the letters will remain behind. Easy.
To paint the light button, I left it on the case as it is too difficult to remove and replace. I painted with the same paint the same way as above but since the plastic of the bezel is a different type than the bezel, I was not sure how sensitive it was to the solvent so after drying I quickly cleaned up with the Goof Off and then wiped with a clean cloth right after. Everything seemed fine for me as I didn't see any hazing or cracking of the button.
The dial plate was simply painted with a Rustoleum Metallic spray paint. I had since discovered that Testors also makes a spray paint that I would have tried instead as I was looking more for a pearlescent finish, but for the sake of the exercise, the metallic paint served well.
To get the dial plate, I had to remove it from the case. Remove the strap, case back and then remove the module. The module comes out pretty easy, but you do have to use a small screwdriver to adjust the pushers so the module clears them. Put the module somewhere safe and keep your grubby fingers off the display so you don't have to clean it later. With the module out, the dial plate is simply sitting in the case and tip it upside down and it will fall out.
The dial plate has an edge which rests on the case. I decided to tape this edge so that any paint would not effect how the plate rested on the case. I then applied a thin coat of spray primer to the dial plate followed by two coats of the spray paint with time for drying between all applications. With each coat I rotated the plate 90 degrees to ensure that all areas were covered. With the dial plate painted and looking cosmic assembly is as simple as dropping in the dial plate and inserting the module. The module can be tricky to clear the pushers and keep the display from being crooked. Close up the caseback install all the resin parts and Viola, you have a custom G Shock.
No comments:
Post a Comment